Interface Builder is one of Apple’s developer tools, used to design interfaces for both Mac OS X and iPhone applications, and in most instances saves developers huge amounts of time from having to write the equivalent code, whilst also providing a useful visual representation of the interfaces they are working on.
Some developers try and fight Interface Builder, and would rather code up the interfaces rather than let Interface Builder do most of the work for them. Of course, there are instances where this may be useful, but in the grand scheme of things IB is a tool which has lots of useful features that makes interface design a much easier process.
Layout and alignment
Interface Builder provides blue guides to aid positioning of objects, in accordance with the Apple Human Interface Guidelines. However, if you want a tighter grain of control over the layout, there are other guides which help you with this.
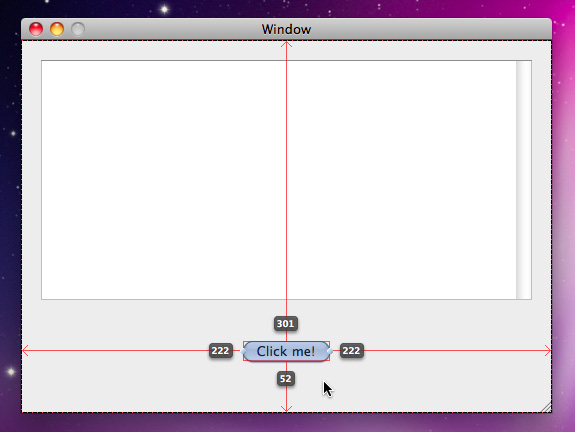
Pressing option with an interface object selected causes red arrows to be displayed on the four sides of the object, with labels displaying the number of pixels from the frame of the object to the edges of the container.
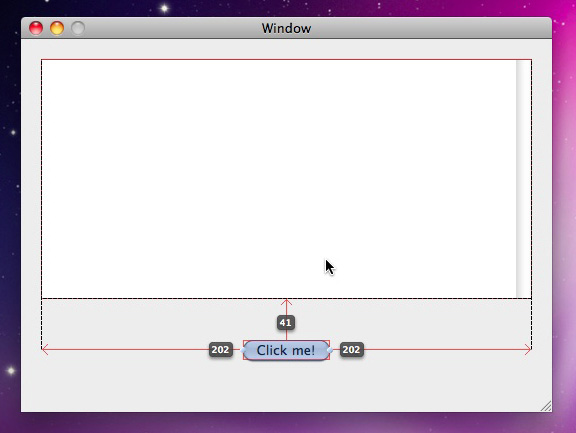
With the option key still held down, placing the cursor over another interface object will show you the spacing between the frame of the selected object and the frame of the object you have the cursor over. This can be useful in times when making sure objects have equal alignments with neighbouring objects, or within the window itself.
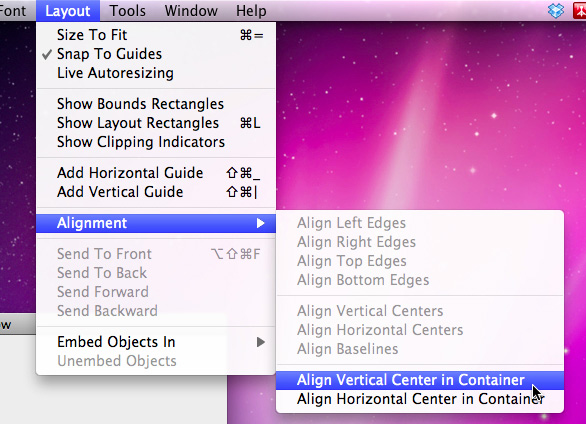
There are also the Align Vertical Center in Container and Align Horizontal Center in Container options from the Layout > Alignment menu which are useful in centering objects within their container (and which I personally think should also have keyboard shortcuts associated with them).
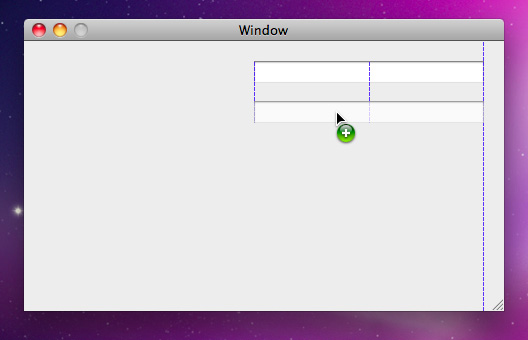
Option-drag to duplicate objects
It really does what it says on the tin. To duplicate objects just hold down the option key then drag an object. A clone of the object will be created which you can then move to the desired location.
Decompose and Simulate Interface
These are two useful options that are accessible from the File menu.
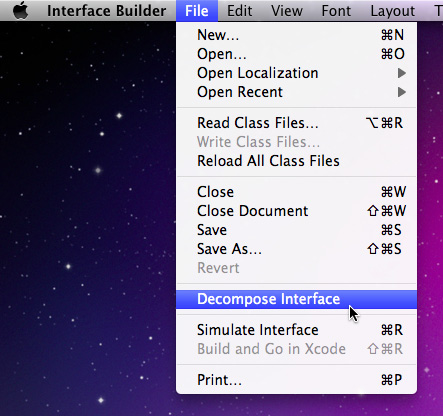
The first is Decompose Interface. An advantage of using NIBs is that they can be loaded lazily – that is, only when the contained objects are actually needed by the application. This can reduce the memory footprint and loading times, which is particularly useful when developing iPhone applications due to the somewhat limited system resources available.
Therefore a common design pattern for Cocoa/Cocoa-Touch applications is to share different objects – be that menus, windows, view controllers and such – across multiple nibs – not necessarily one per nib, but perhaps two or three that are needed for a particular part of the application and have to be loaded together. What the Decompose Interface action does is split objects in the current nib into separate nibs, which can then be saved and then loaded lazily by the application in this way.
The other action, Simulate Interface, is a convenience when designing an interface; instead of having to go back to Xcode and Build and Run to see what the interface looks like, you can do it straight from Interface Builder, which will simulate the current window and its contents.
However, note that if you use any custom views, any custom visual or behavioural attributes will not be implemented by the simulator – it does not build your application, just simulates the available objects used by your interfaces from the Library.
Size to Fit
Size to Fit is an option available from the Layout menu (or ⌘=) which resizes a view to a size just large enough to fit its contents.
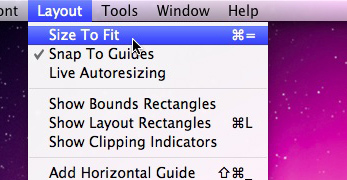
This is useful after changing the contents of an element to then resize it to just the right size to fit its contents.
Precise selection of Views in the view hierarchy
This is another really useful feature of Interface Builder; when making a selection, hold down shift and then right-click on an element. A menu will pop up, which lists the views in the view hierarchy for that element, from the enclosing Window (or other appropriate top-level container) to the interface object that you have clicked on. For example, when clicking on an NSButton, the menu lists Window, Content View, Push Button and Button Cell.
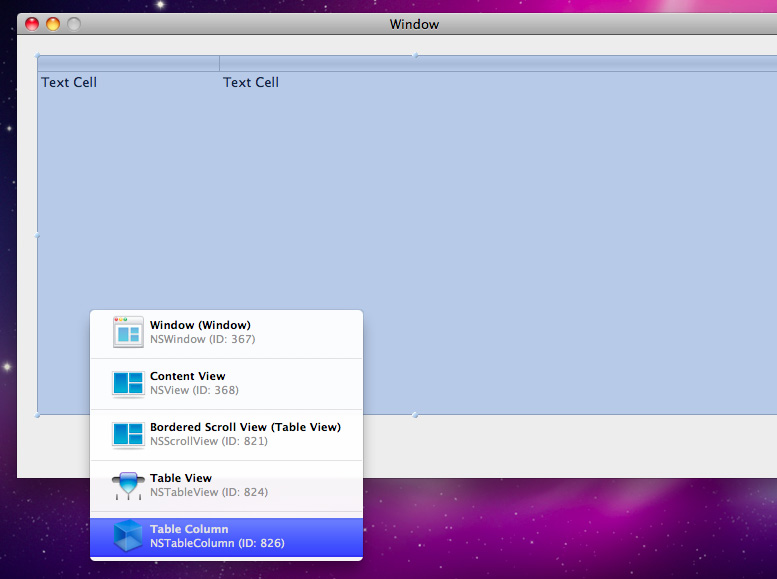
Where I’ve found this to be particularly useful is with Table Views; the particular part of the table that you want to select very much depends on what you want to do; if you are binding to a column for instance, you will want to select the table column; if you are resizing the headers, you will want to select the header view; if you want to change the row height, you want to select the Table View itself, and so forth.
Selection of these individual components is rather difficult and annoying, and you often have to time your clicks appropriately to select the part of the Table View that you want. However, shift-right-clicking on the Table View means that you can select the appropriate item – be that the table column, the cell for a column or the Table View itself – by selecting the appropriate item from the popup menu.
Smart Groups
Smart Groups can be created in Interface Builder much like smart groups in applications such as the Finder or iTunes. These are listed in the Library window, along with the other object groupings.
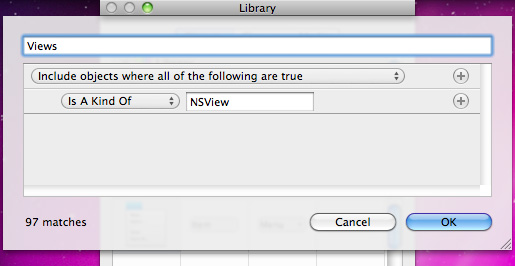
Smart Groups provide a means of filtering objects based on a predicate (or filter) based on such properties as object label, the most recently used objects, or the kind of class an object is. This last property can be especially useful. For example, if you want a Smart Group that lists all NSView objects or subclasses, you can set the predicate to:
<Is A Kind Of> NSView
And the group will contain all NSView classes or subclasses.
Smart Groups can be created by clicking on the actions button at the bottom of the Library window and selecting New Smart Group.
Font Menu
Another useful menu is the Font menu, which allows you to set the font and font attributes of items in your interface. This can be useful when setting fonts of controls or cells, such as changing the font size, weight or colour of a cell in an NSTableView, for example, which saves you having to do it with code.
Info Panel
The Info panel provides useful information about the nib that you are currently editing and its contained objects. It allows you to specify a deployment and development target, and shows any errors that your interface may have when deploying to that target.
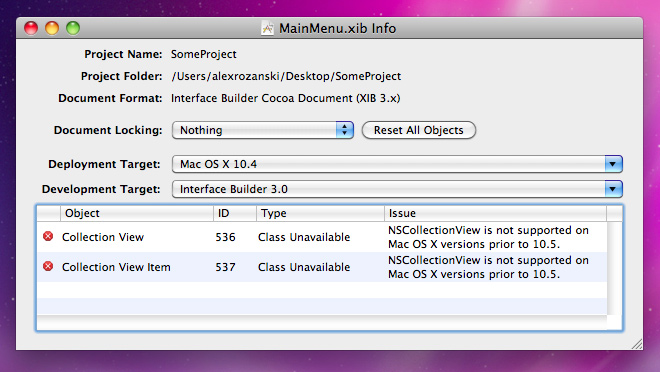
For example, placing an NSCollectionView instance in a window and selecting a deployment target of Mac OS X 10.4 will show an error that the NSCollectionView class is not supported on versions of OS X prior to 10.5.
The Info panel can also show useful information about layout, for example if a window lies partially hidden off the screen which means that it will be partially hidden from view when unarchived and displayed.
Comments — 5
Oct 19, 2010
thanx, for a useful tutorial on IB !
Jan 15, 2011
thanks
Aug 1, 2011
This feature is a little buggy in XCode 4. It does only work, when the debug area is NOT shown.
Aug 1, 2011
This feature is a little buggy in XCode 4. It does only work, when the debug area and the utility window are are NOT shown.
Oct 6, 2013
Sounds like a cool feature. Seems to be gone in Xcode 5.
Add comment